
Last Thursday, March 5th, I participated in Ali Edwards’ Day in the Life™ documentation day. This project is one of my favorites and something I look forward to each year. This year, I’ve decided to try to play along on the days when Ali is documenting and using the same prompts she uses. This helps with decision fatigue and makes me feel a part of the community when lots of folks are playing along together.
For this first Day in the Life™ of 2020, I followed Ali’s lead and used “-ing” words as my lens for finding stories taking photos to document my day. I told two stories for each of the following words: learning, eating, watching, listening, wearing, going, feeling, working, and loving. I also took a photo to accompany each story and noted the time of each story / photo throughout the day. If you’d like to see most of my stories and photos from the day, you can check out my personal hashtag for this project on Instagram: #grimesdayinthelife

For my album, I am using the album bundle and Day in the Life™ January 2020 Kit that Ali has for sale in her shop. I love the 3″x8″ size and it seems just perfect for these small projects. I plan to document both days this year in the same album using primarily the products provided in the kit.
My biggest goal was to get my stories and photos in the album as quickly as possible this year, since last year I participated and have the stories and photos, but have so far failed to get any of it in the album. I am so thrilled with how it turned out! I love the bright, bold colors of the kit and had a lot of fun working with the products to get these stories into some tangible format to share with others. The video below details some of my process and shows the finished product in my album.
STEP ONE
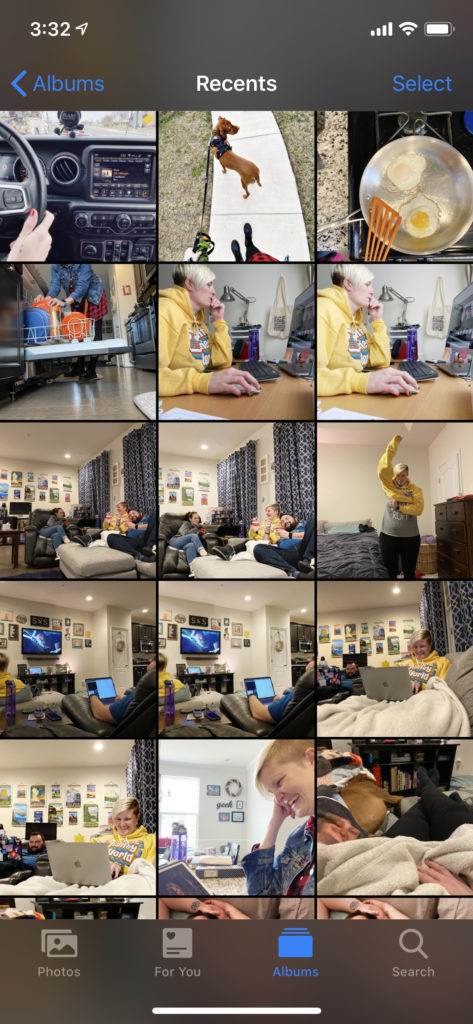
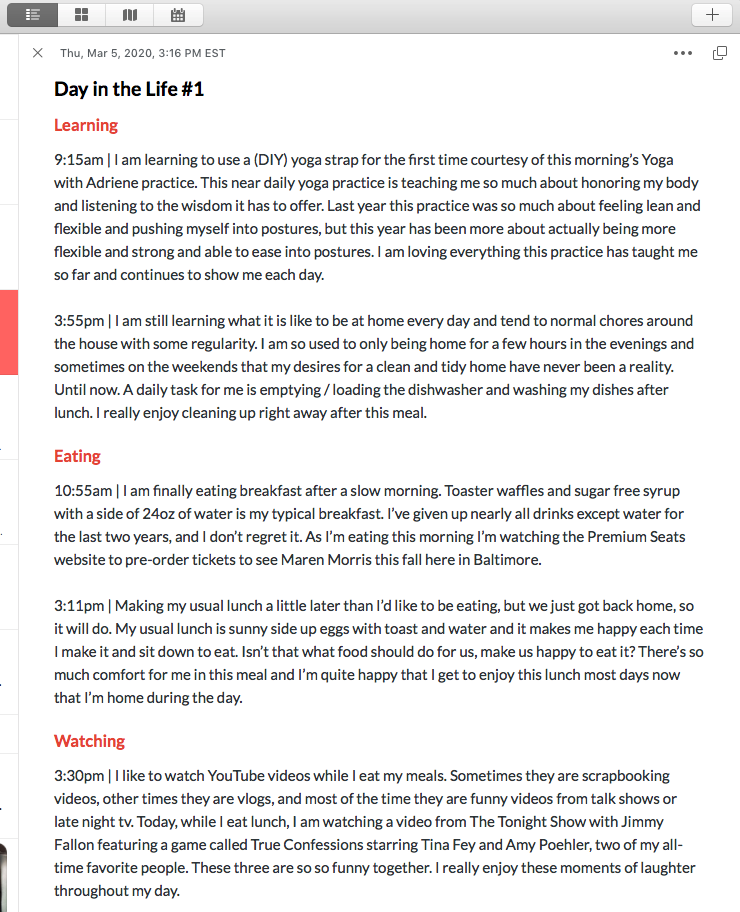
The first thing I did for this project was document the day. I use the Day One journal app on my iPhone to do all of my journaling. The night before, I created a note with all the -ing prompt words included so during the documenting day, all I had to do was tap under each heading to do my journaling. As I was journaling, I also added a time stamp of each of the stories or photos. I also take all my photos with my iPhone and edited them there as well. I shared at least one story and photo for each prompt over on my Instagram account throughout the documenting day.
STEP TWO
Since I already had my journaling done and I knew that I wanted to add that digitally to the long 3″x8″ prompt cards included with the kit, I did that first. To get my words typed out on each of the physical cards, I created a template in Photoshop that was the same size as each card (3″ x 8″) and measured the cards to be sure I left space for the printed title and design at the bottom of each card. Then, in Photoshop I added a text box sized to fit inside the space I had measured. I copy and pasted my journaling and directly from the Day One app on my computer into each corresponding card in Photoshop. One of my favorite features of the Day One app is that is syncs across my devices, so I can type my journaling on my phone while I’m on the go and pull it up on my laptop to work with it when I’m ready to use it for my projects. Once I had my stories added to each card, I loaded them, in order, into my printer and printed my journaling directly on the cards.
STEP THREE
Next, I needed to decide what I was going to do with my photos. Since I ended up with two photos for each prompt, my original idea of adhering the photos and journaling cards directly to each of the transparencies included in the album kit wasn’t going to work. So, after much internal debate, I decided that done was better than anything else at this point and my true goal was for the stories and photos to be included in the album, so I decided to just print each photo as a 3″x4″ and pair those in pocket pages with my journaling cards. And it worked out beautifully – AND I accomplished my goal of getting it in the album!
STEP FOUR
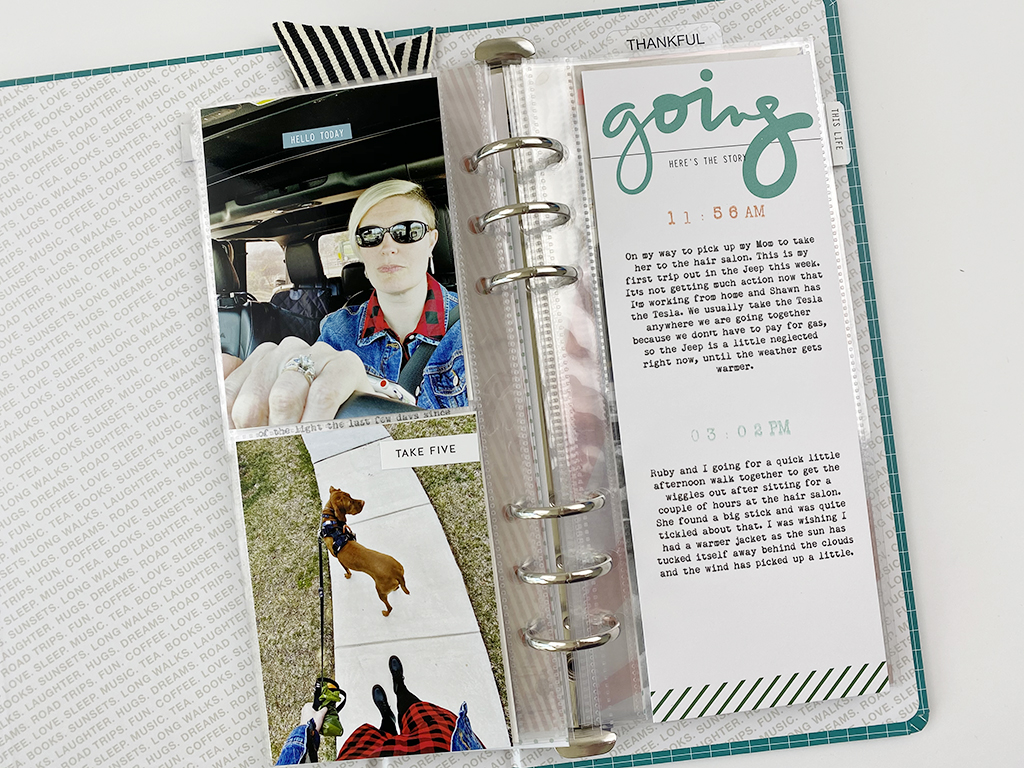
Finally came the finishing touch – embellishing! I wanted to include the time stamp for each story / photo, and wanted to add a little more color to each card. I decided to use Ali’s Time Roller Stamp to stamp the time above each snippet of journaling in an ink color that coordinates with the kit colors.
Then, I decided on a simple and repeated treatment on each of my photos of adding a word phrase sticker to each photo. Simple and effective.
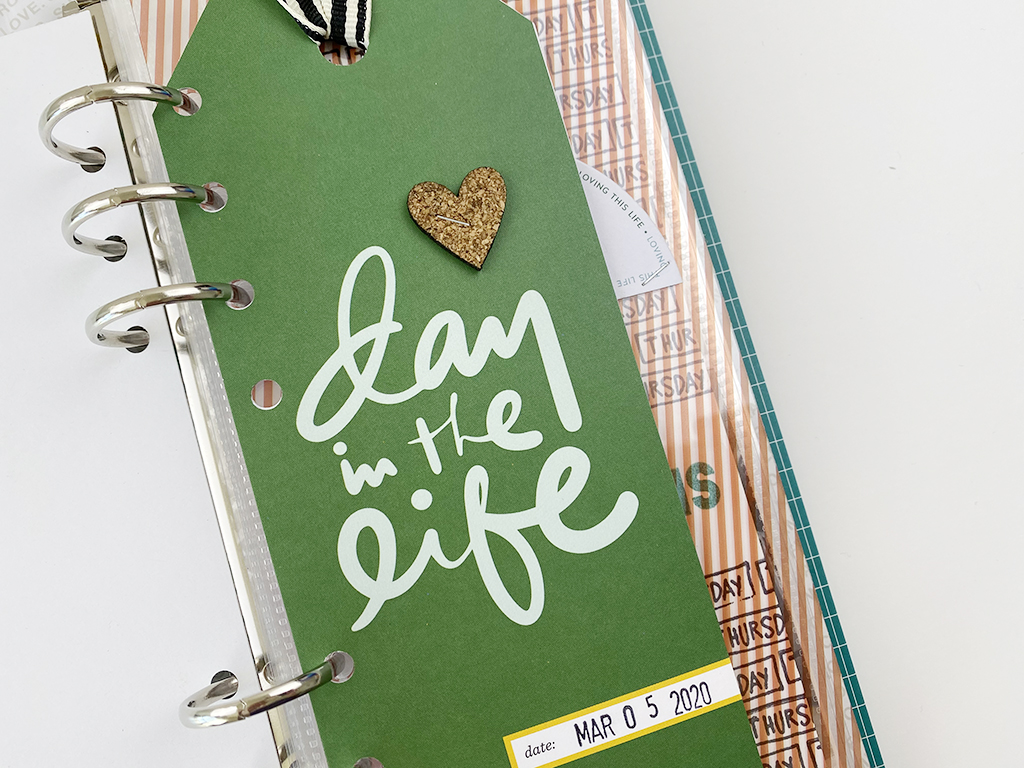
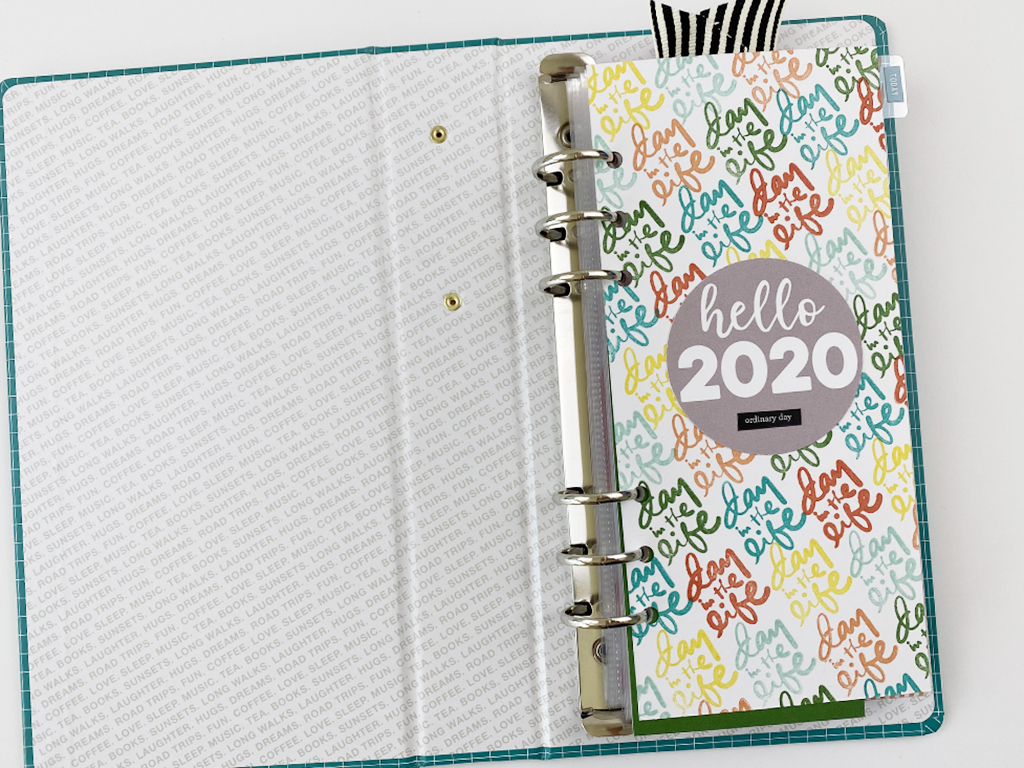
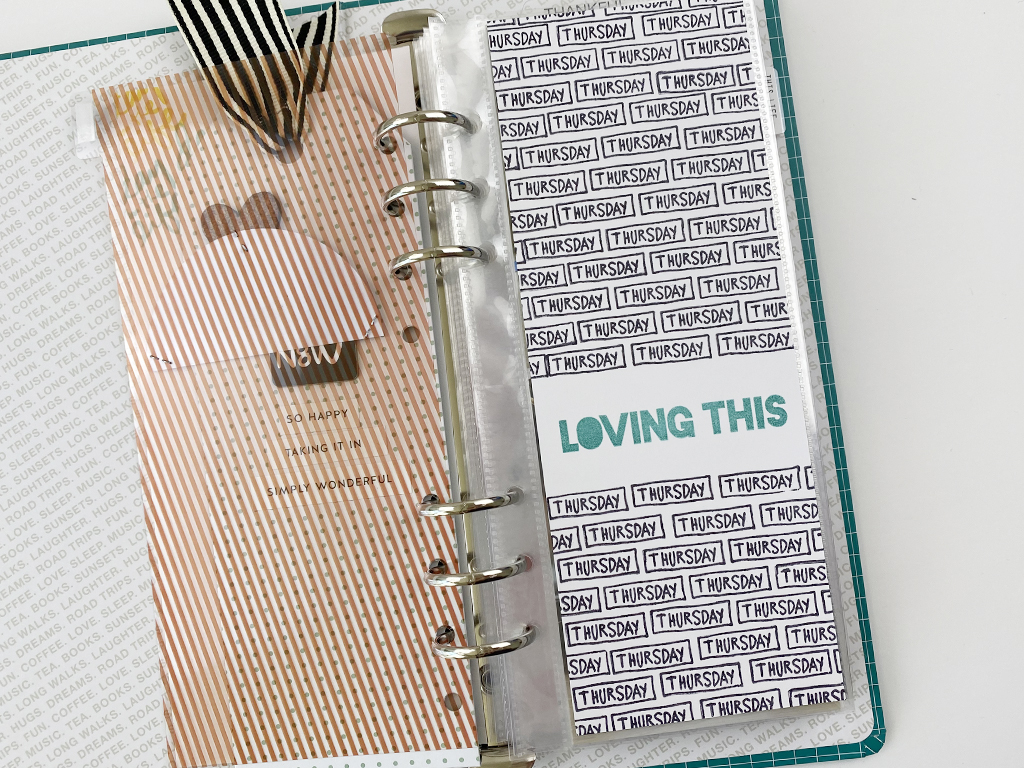
I finished it off by stamping out some title / divider pages for the album. I made a title page from white cardstock stamped with the sentiment “Day in the Life” over and over in different colors on the front for my title page for the whole album. I added a “hello 2020” card from Elle’s Studio and a small word phrase sticker. On the back, I will add some sort of full size photo from one of the days I’m documenting. I also created a day of the week title page for this particular day using a “Thursday” stamp from an old Week in the Life™ kit and the “Loving This” sentiment from another stamp set. I super love how each of these look in the album!
Again, I am really thrilled with how this turned out, but more importantly, I am happy that the stories and photos are in my album and tangible for my family to enjoy. Now, I can set this aside and focus on other projects until later this year when I participate in the second Day in the Life™ documenting day for 2020 and it won’t be hanging over my head (like last years project)!
Check out the video below for more information and a detailed look at each page of March in my album.
Beth
Turned out fabulous! Thanks for sharing & for all the tips. I went immediately to download the Day One app. I can tell already it’s a keeper.
steph
That’s so great Beth! I love that app and it’s definitely one of my most used. Thanks for checking out my project!