
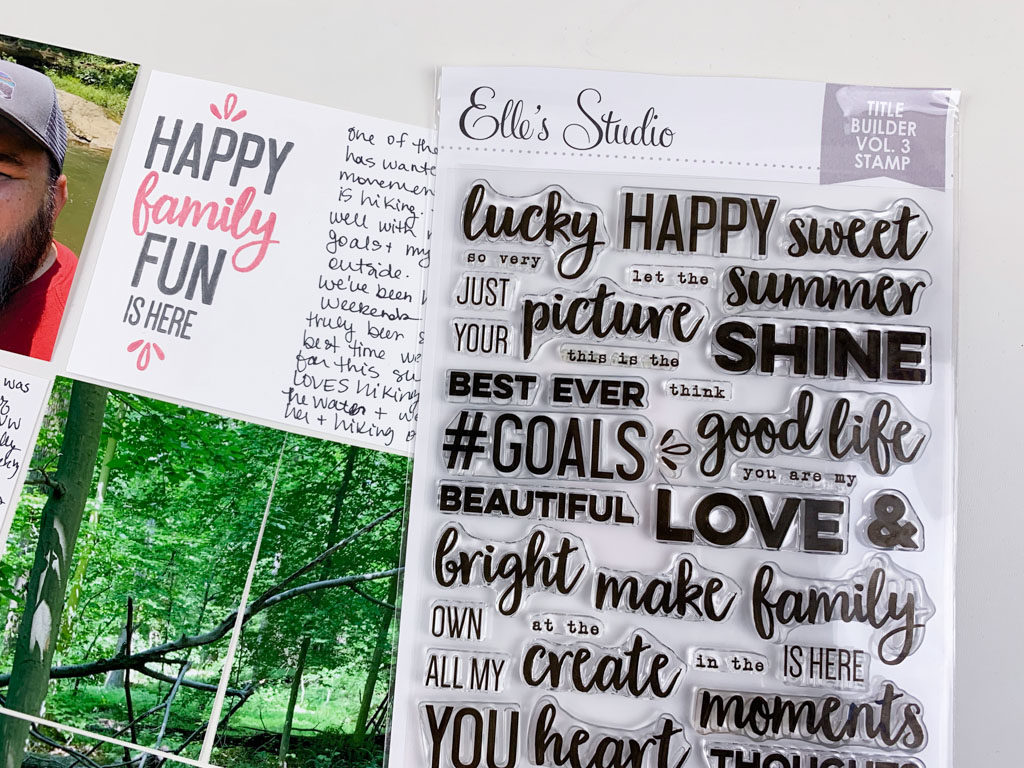
I am so excited to share this pocket page spread with you all today! I exclusively used the brand new Title Builder Vol. 3 Stamp Set from Elle’s Studio to create my own cards for this page. And it was so fun to create!
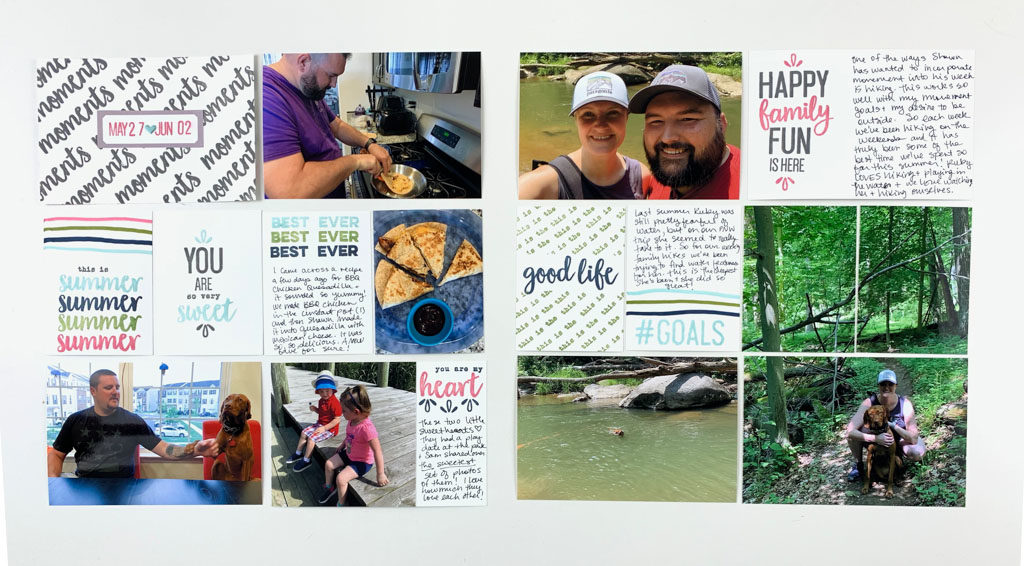
Here is the full two-page spread using only cards I created with the Title Builder Vol. 3 stamp set. I am still extremely backlogged on my 2019 album (at least by my own standards) and I’m looking for quick ways to get the photos in pockets and get the stories written down. This approach allowed me to create cards and sentiments based specifically off the stories I had to tell for this spread. I made a few that were more typographic “filler” type cards and some that had room for journaling where I knew I wanted to do my writing ahead of time.
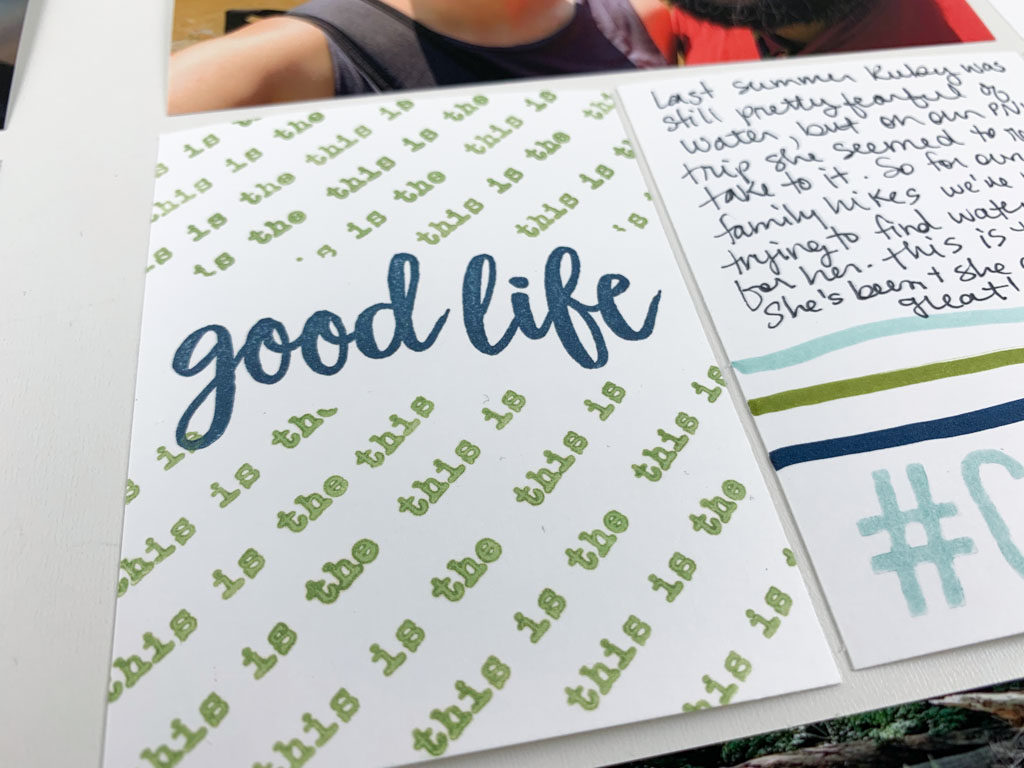
I tried a couple different techniques to create my cards. One technique I loved was masking off a strip on this 3″ x 4″ card above and stamping a smaller type sentiment across the background diagonally and then removing the mask (Post-It Tape) and stamping a larger sentiment with a different font in a contrasting color across the card. I love the way this ‘Good Life’ card turned out and will definitely use that technique again!
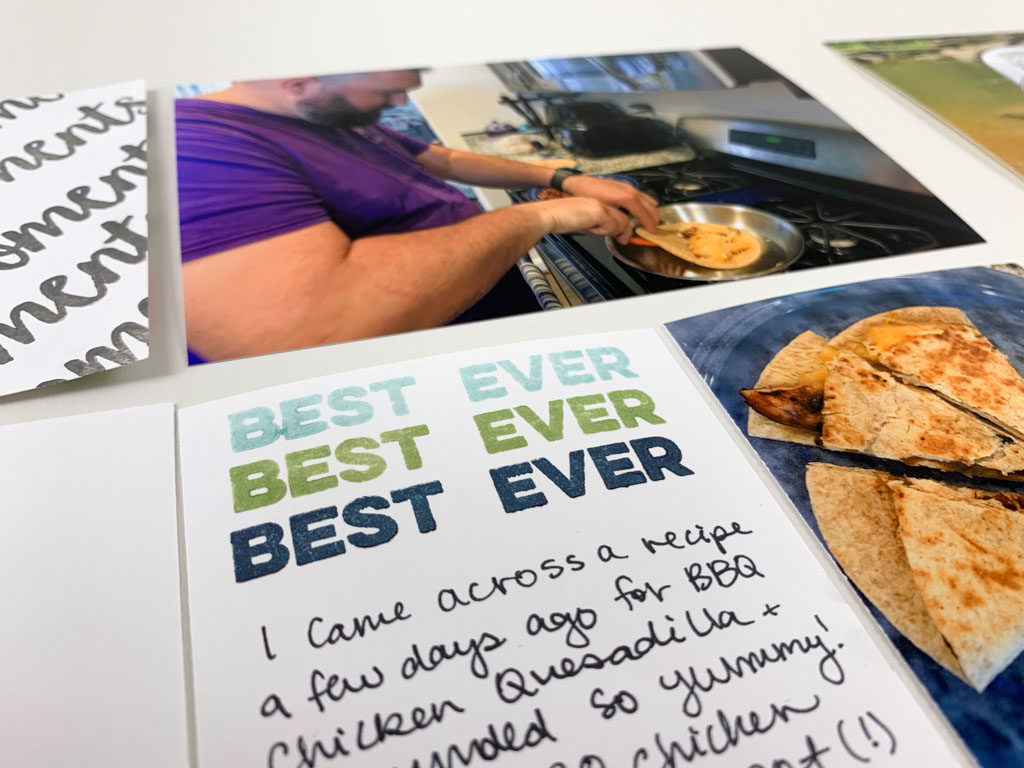
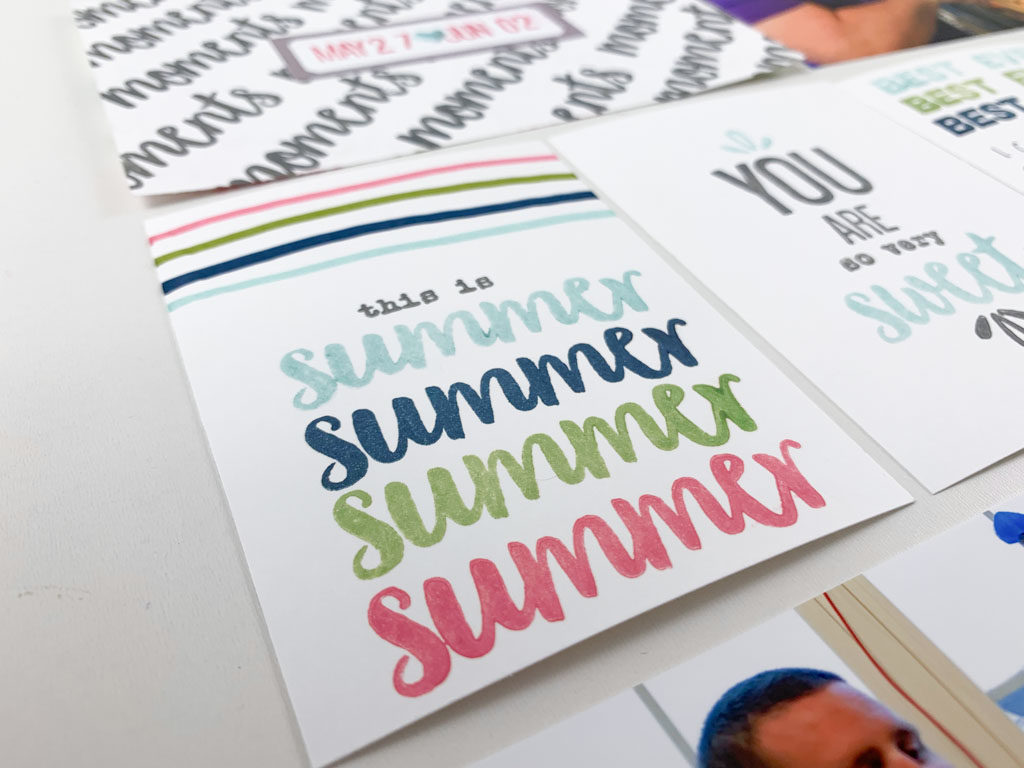
Another technique I used was repeat stamping. So I made phrases (either using single stamps or by combining stamps) like “Best Ever” and repeat stamped them in multiple colors to create both a filler card and a journaling card. This was a fun way to really drive home the point and make a visual statement to my layout.
On some of the cards I added some additional elements such as hand-drawn lines or images. I created the hand-drawn lines by using markers in the same colors as my ink to simply draw a series of lines across the card – no ruler, definitely no perfection! The Title Builder Vol. 3 Stamp Set also includes a few little stamps with doodley images that I used on a couple of my cards.
The cards that were most fun for me to create actually highlight how awesome this stamp set is. The set comes with a myriad of single words or brief phrases in a small variety of fonts – enough to give you an interesting look while still coordinating – that can all be combined and work really well together to make titles for your cards or pages. It’s kind of a marvel how much design and planning must go into a set like this – let alone 3 sets like this!! (Title Builder and Title Builder Vol. 2 are also available and currently on sale!) So I was really excited to make my own combinations and create a few cards to really take this stamp set for a test drive. I LOVE how this 4″ x 6″ journaling card turned out!! Being able to mix and match colors and fonts and phrases was so much fun. The stamp sets even come with a digital PDF of a TON of suggested phrases, so Elle has already done some of the work for you!

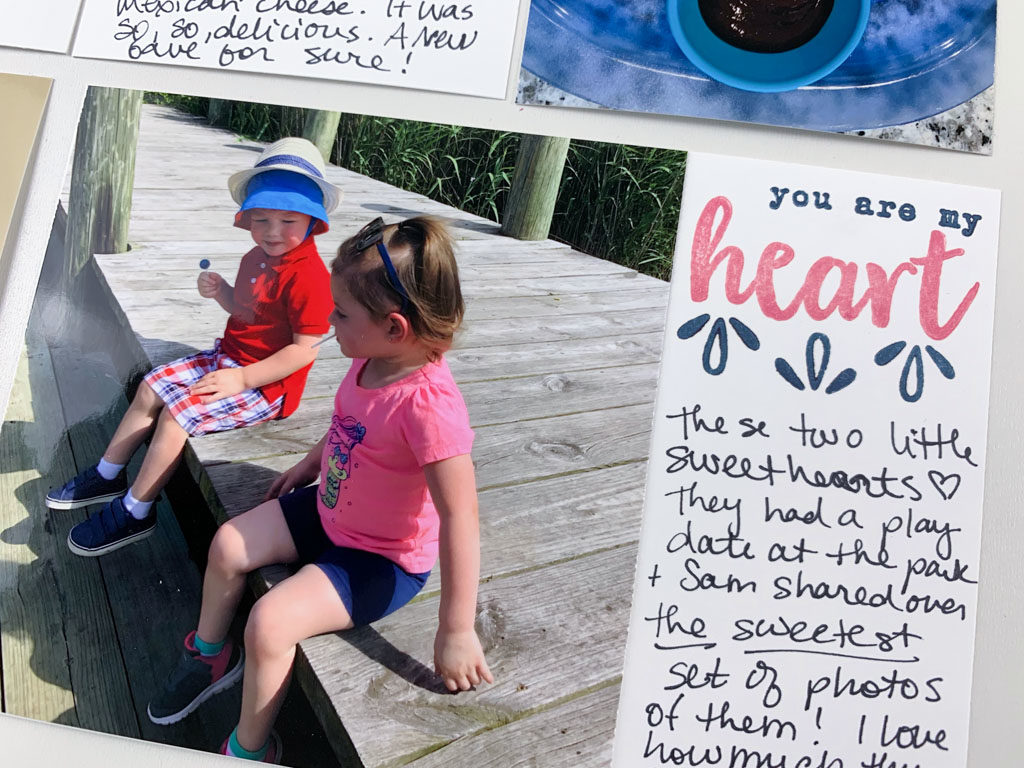
Finally, it was a fun challenge to have to come up with what colors I would use for which cards. Being able to customize my cards and use the colors I wanted – not the colors that matched a kit but not my photos – was really liberating! I used a dark blue and pink to create this journaling card to go along with the photo of my niece and nephew being adorable together. If this card had come pre-made in a kit who knows what colors it might have been and whether or not I would want to use it if it didn’t “go with” my photos. Now, don’t get me wrong, I LOVE kits and someone designing coordinating elements to go together, but it was nice (and a little stressful) to have total freedom in this project.


Have you tried the Title Builder stamps before? This is really the first time I’ve really used them front and center and it definitely won’t be the last! Let me know what you’ve made and if you have any innovative ideas you’d like to share on using these brilliant sets! You can check out ALL the Title Builder awesomeness here.
*Disclaimer: I am part of the Elle’s Studio Design Team and received these stamps as part of my commitment to the team.
Leave a Reply