
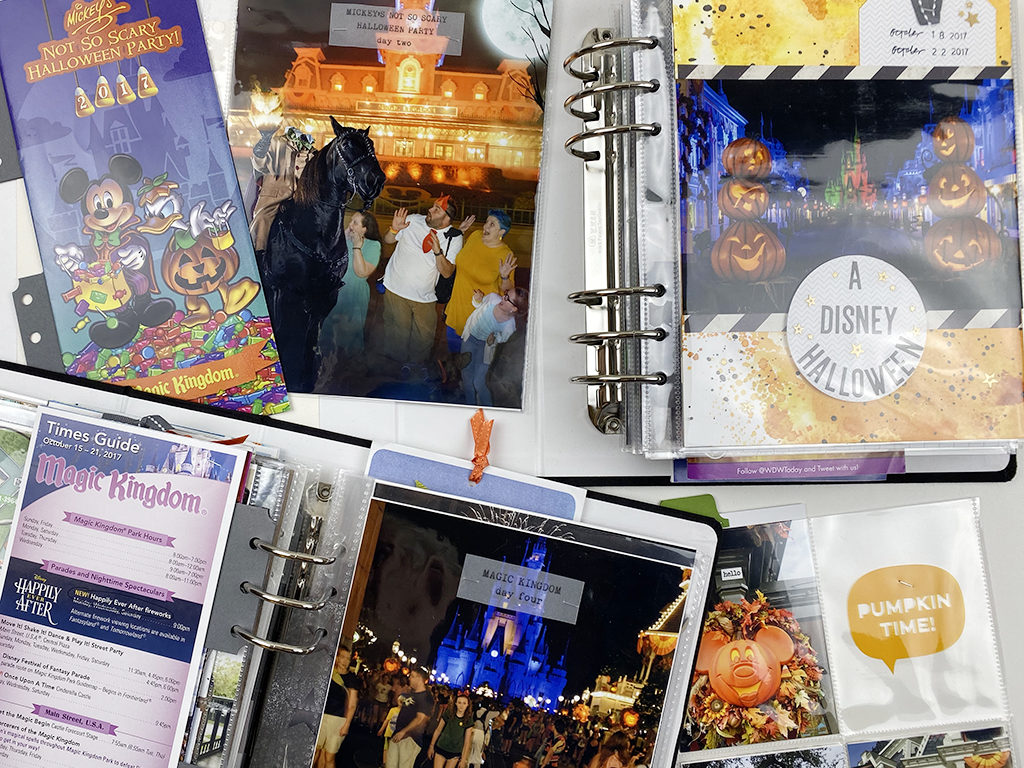
To celebrate this spooky, special month, I’ve created a walkthrough video of my 2017 Halloween trip to Disney World. We had a great time participating in all the fall fun at Disney and I documented our trip in two 6″ x 8″ albums. I love to use this size album to document our trips because it allows for so much interactivity! In this video, I share a detailed walkthrough of each of the albums and discuss tips and tricks for including more interactivity in your albums. This was such a fun project and I am so excited to share it with you!
Leave a comment and let me know if you’ve been to any of the Disney Parks at Halloween and what your favorite experience was!
Jodie Mitchell
Love the video and album Steph! What great memories. I especially love all the interactive elements. Can I ask where you got the little tabs that attached your park maps?
Disney World at Halloween time is definitely on my Bucket List… hopefully next year! 🙂
steph
Hi Jodie! Thanks so much for your feedback and for watching the video! Creating interactive elements for my smaller albums is my jam! I love that it can be totally different than my larger annual 12×12 albums. I made the tabs myself! They’re just cardstock, cut to 1.5″ x 2.5″, glued onto the back of my map. Then, I used a 6×8 page protector to line them up before gluing them in place so I could then use my 6-hole punch (the one Ali uses) to punch the holes. Each tab is actually two pieces of cardstock adhered together, to make it more sturdy. Then, I just used a small circle punch to notch out the corners. I just posted a video of how I did it on my IG stories and to my Facebook page. Hope that helps!
Heather
Thank you for sharing! I really loved it…lots of great ideas.
steph
Thanks so much! I appreciate you taking the time to watch!